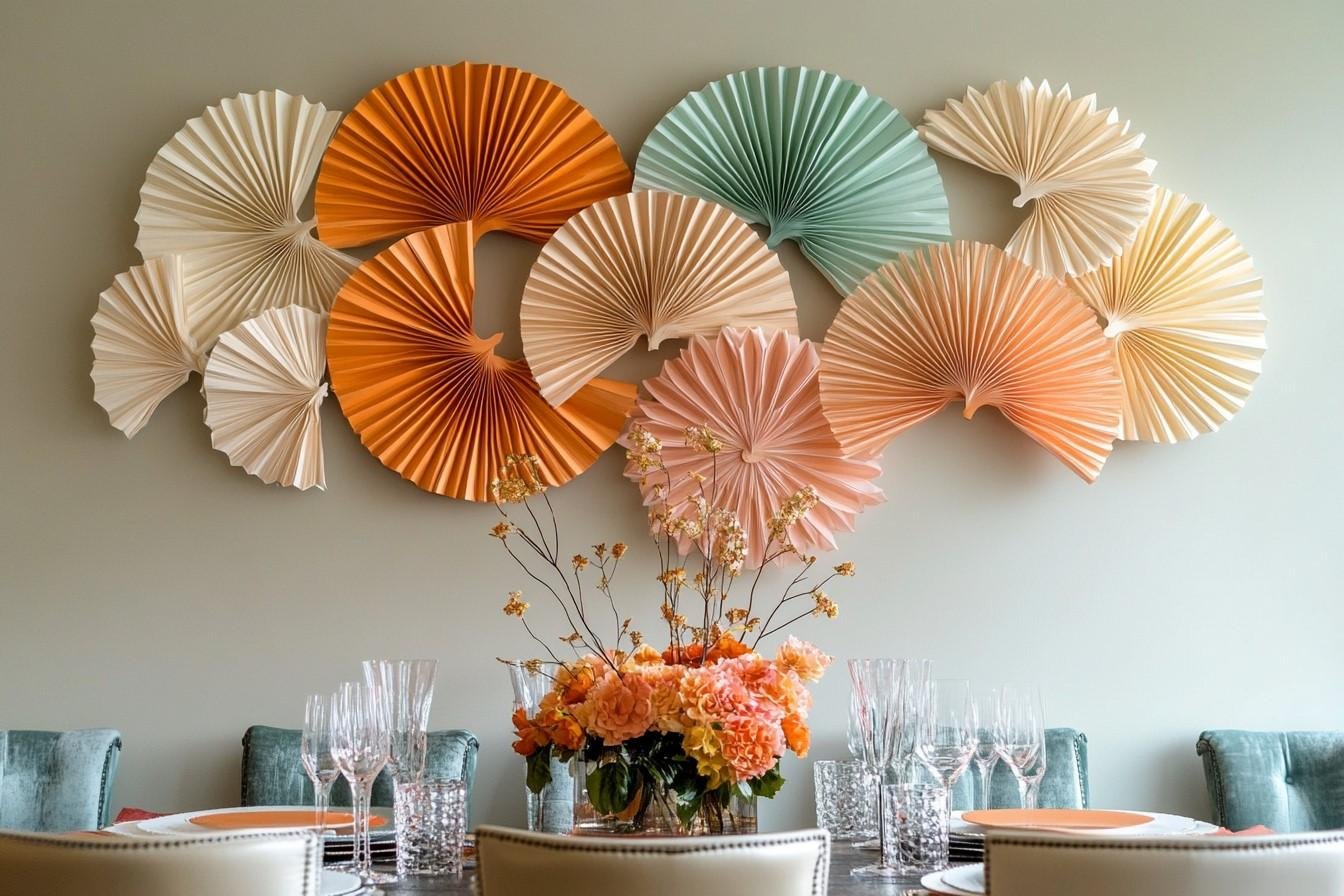
Decorating your home doesn’t have to be expensive.
With a little creativity and simple materials, you can make beautiful paper decorations at home.
From colorful flowers to stylish wall art, these DIY projects are easy and fun to try.
Explore these 15 paper craft ideas to give your home a fresh, personal touch.
1. DIY Paper Flower Wall Decorations

Paper flowers are a lovely way to brighten up an empty wall. You can make them in different sizes and colors to match your room.
Try soft pink and cream for a gentle look, or choose brighter shades if you want something that stands out.
They’re a simple way to add a handmade touch to your home.
Materials Needed:
- Colored cardstock or craft paper
- Pencil and scissors
- Hot glue gun or craft glue
- Small paper circles for flower centers
- Removable wall hooks or mounting strips
How to Make It:
- Draw petal shapes in different sizes on your cardstock.
- Cut out the petals carefully.
- Gently curl their edges around a pencil.
- Arrange the largest petals first, then layer smaller ones on top.
- Glue the layers together and add a small paper circle in the center.
- Let the flowers dry before arranging them on your wall.
Helpful Tip: Use three matching colors and different flower sizes to create a balanced display.
2. Handmade Paper Butterflies for Wall Decor
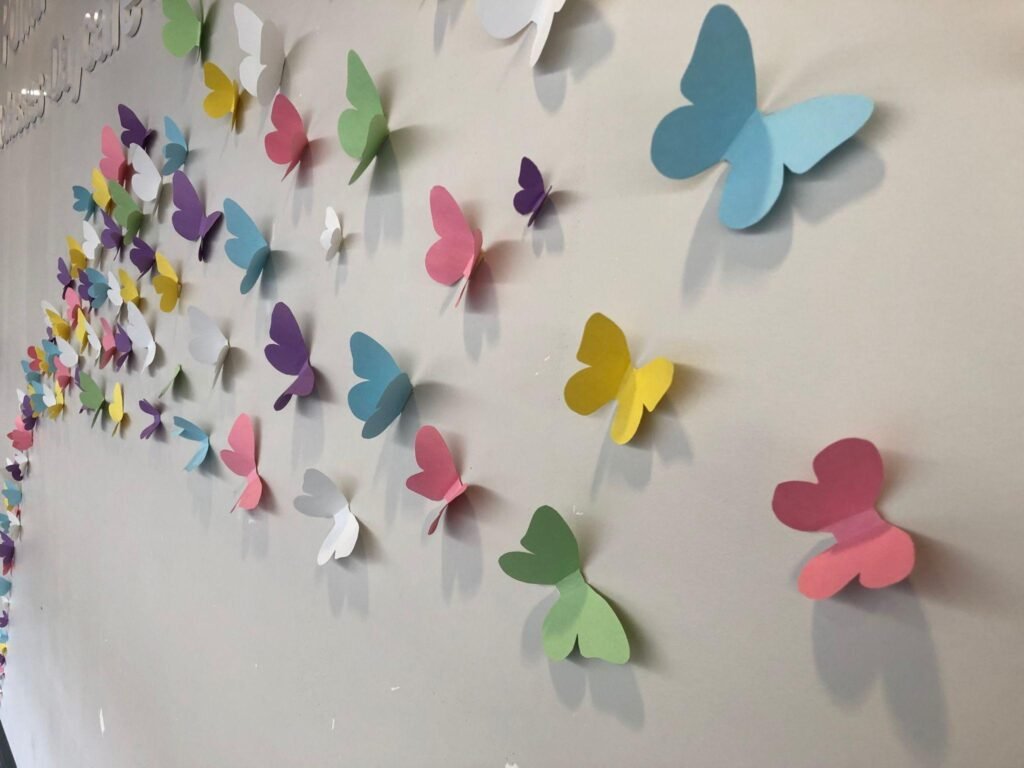
Paper butterflies are a fun way to decorate a plain wall without making it look crowded.
Their slightly raised wings give them a lovely 3D effect.
You can arrange them as if they’re flying upward from a corner, making this idea especially nice for bedrooms, reading spaces, and craft rooms.
Materials Needed:
- Colored paper or lightweight cardstock
- Butterfly templates
- Scissors
- Ruler
- Double-sided removable mounting tape
How to Make It:
- Draw or print butterfly shapes in different sizes.
- Trace them onto colored paper and cut them out.
- Fold each butterfly gently along the center.
- Lift both wings slightly to create a raised effect.
- Attach a small piece of mounting tape behind the center.
- Arrange the butterflies in a flowing pattern on your wall.
Helpful Tip: Use different shades of the same color for a neat and coordinated look.
3. DIY 3D Paper Wall Art

If you enjoy modern and simple decorations, 3D paper wall art is worth trying.
Folded paper shapes add texture and create interesting shadows when sunlight reaches them.
You can use basic shapes like triangles, squares, and diamonds to make artwork that looks stylish without needing expensive supplies.
Materials Needed:
- Medium-weight cardstock
- Pencil and ruler
- Scissors or craft knife
- Cutting mat
- Craft glue
- Poster board or a shallow picture frame
How to Make It:
- Choose a simple geometric pattern.
- Measure the backing board and cut your paper shapes.
- Fold the shapes along their center lines.
- Arrange them on the board until you like the design.
- Glue the flat sections while keeping the folded parts raised.
- Allow everything to dry before framing or hanging.
Helpful Tip: Try white, beige, gray, and terracotta for a clean, modern appearance.
4. Paper Rosette Wall Decorations
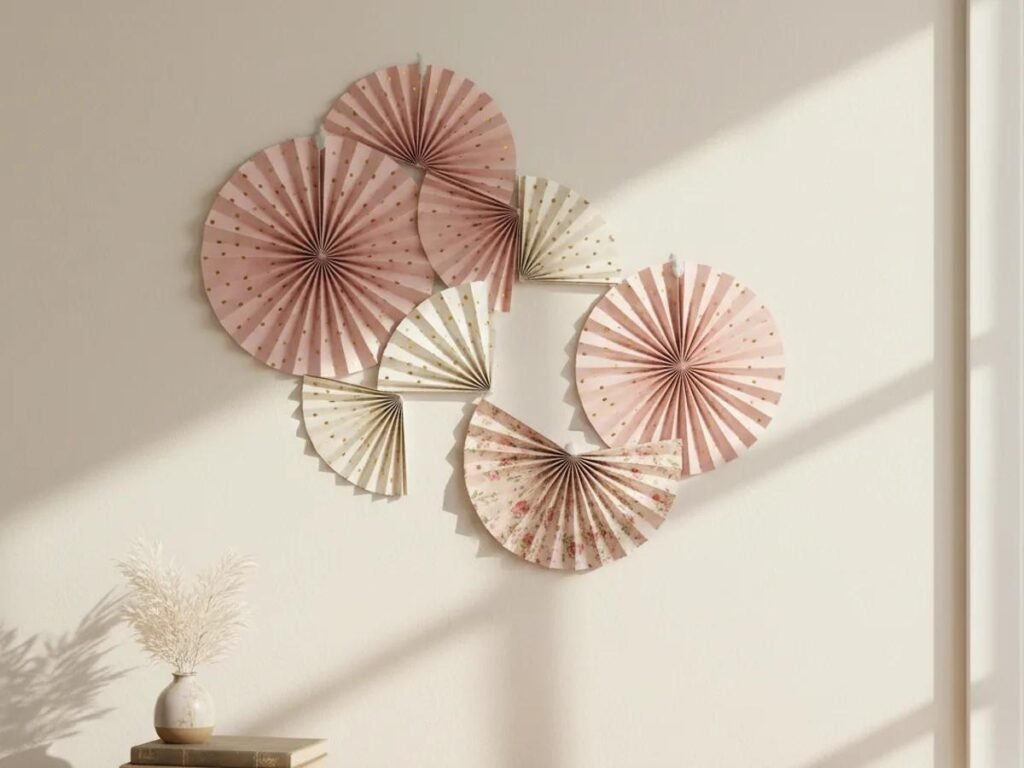
Paper rosettes are circular decorations made by folding paper like an accordion.
They have a lovely fan-like texture that can make an empty wall more interesting.
Although they’re often used for parties, choosing simple colors and patterns makes them suitable for everyday home decorating, too.
Materials Needed:
- Rectangular sheets of colored paper
- Ruler and pencil
- Scissors
- Glue or double-sided tape
- Small paper circles for the centers
How to Make It:
- Choose paper sheets of similar sizes.
- Fold each sheet back and forth like an accordion.
- Fold the pleated strip in half.
- Join several folded strips to form a circle.
- Gently spread the folds outward.
- Bring the inner edges together and secure the center.
- Cover the middle with a small decorative paper circle.
Helpful Tip: Use slightly thicker paper to help your rosettes hold their shape.
5. DIY Paper Garland for Home Decor
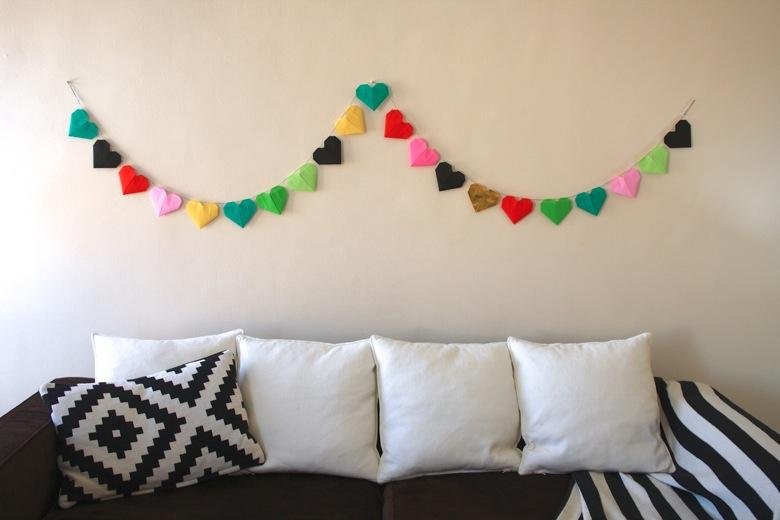
A paper garland is an easy way to add a little color to your home. You can hang it above a shelf, around a mirror, or along a mantel.
Choose shapes like hearts, stars, leaves, or circles to create a decoration that suits your room and personal style.
Materials Needed:
- Colored paper or lightweight cardstock
- Pencil and shape templates
- Scissors or paper punch
- Cotton string or lightweight twine
- Glue or small clips
- Tape or removable hooks
How to Make It:
- Choose one or two shapes for your garland.
- Trace them onto colored paper and cut out enough pieces.
- Arrange the shapes to decide their order.
- Attach them to the string using glue, paper tabs, or clips.
- Let the adhesive dry completely.
- Hang the garland using removable hooks.
Helpful Tip: Kraft paper, cream, and sage green look lovely together for everyday home decor.
6. Handmade Paper Lanterns

Paper lanterns can add a cozy decorative touch to a room.
Their curved shapes and simple patterns make them lovely for seasonal displays, parties, or a special corner in your home.
They’re also easy to make with basic supplies, so you don’t need much crafting experience to get started.
Materials Needed:
- Colored construction paper or lightweight cardstock
- Ruler and pencil
- Scissors
- Glue or double-sided tape
- Stapler, if preferred
- Extra paper for a handle
How to Make It:
- Cut a rectangular sheet of paper to your preferred size.
- Draw a line about one inch from one short edge.
- Fold the paper in half lengthwise.
- Make parallel cuts from the folded edge, stopping at the marked line.
- Open the paper and roll it into a cylinder.
- Join the short edges with glue or tape.
- Add a paper handle at the top if you’d like to hang it.
Helpful Tip: Try two different paper colors for a more interesting look.
These lanterns are for decoration only. Never put candles or hot bulbs inside them.
7. DIY Paper Pom-Pom Decorations
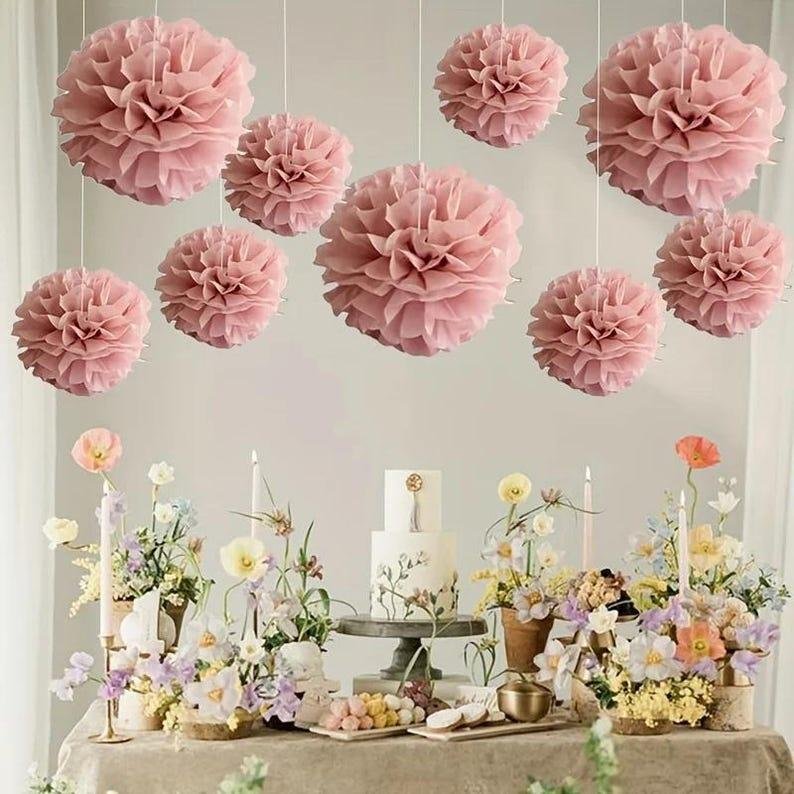
If you enjoy soft and fluffy decorations, tissue-paper pom-poms are a fun project to try.
They’re made by folding thin sheets of paper and carefully separating the layers to create a full, rounded shape.
You can make large ones for a party corner or smaller ones for your bedroom.
Materials Needed:
- Tissue paper
- Floral wire or pipe cleaners
- Scissors
- String or ribbon
How to Make It:
- Stack several sheets of tissue paper evenly.
- Fold the sheets back and forth into accordion pleats.
- Wrap floral wire or a pipe cleaner around the middle.
- Trim both ends into rounded or pointed shapes.
- Slowly separate each tissue-paper layer.
- Continue until both sides look full and fluffy.
- Attach a string to the center if you want to hang your pom-pom.
Helpful Tip: Tissue paper tears easily, so separate the layers slowly. Keep finished decorations away from flames and heaters.
8. Paper Fan Wall Decorations

Paper fans are a simple way to bring color and texture to a blank wall.
You can arrange them around a mirror, above a console table, or in a group to create an attractive display.
They’re especially useful when you want something eye-catching without spending hours cutting tiny shapes.
Materials Needed:
- Rectangular sheets of colored paper
- Ruler
- Scissors
- Glue or double-sided tape
- Small cardboard backing pieces
How to Make It:
- Lay a rectangular sheet of paper flat.
- Fold it back and forth into equal accordion pleats.
- Fold the pleated strip in half and secure the center.
- Open the pleats outward to form a semicircular fan.
- Join the open ends using glue or tape.
- Make more fans in different sizes and colors.
- Attach them to your wall using suitable removable fasteners.
Helpful Tip: Mark the fold intervals with a ruler before starting. Even folds help your fans look neat and symmetrical.
9. DIY Paper Leaf Wall Art
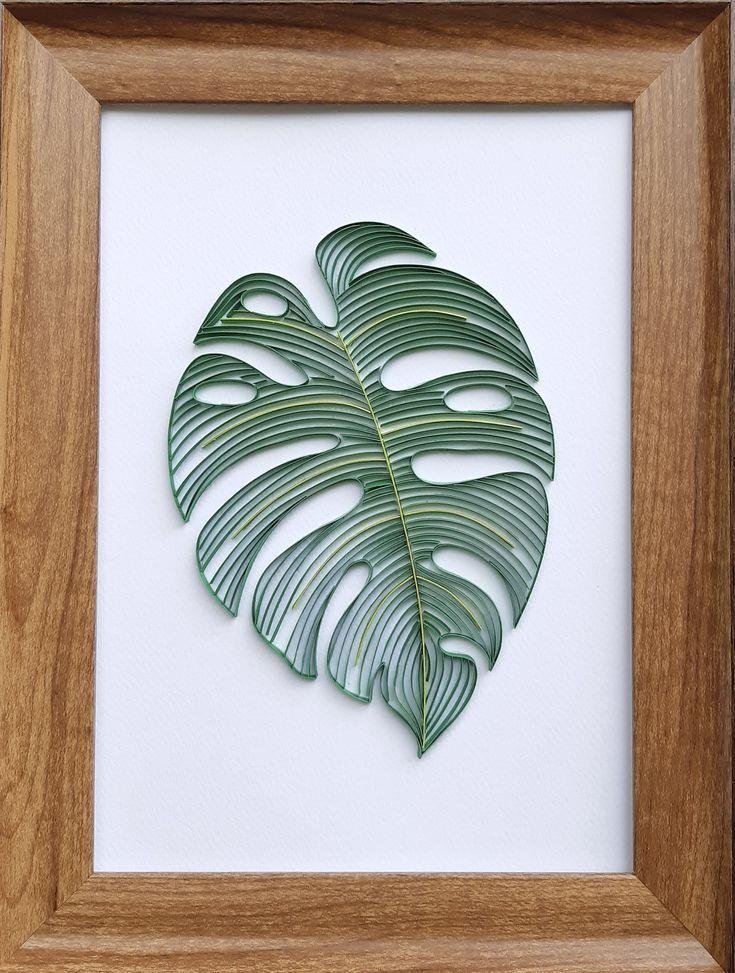
Love the look of greenery but don’t have enough space for real plants? Paper leaf wall art is a lovely alternative.
You can create tropical leaves, eucalyptus-style branches, or simple green shapes inside a frame.
Using different shades of green gives your design a more natural and interesting appearance.
Materials Needed:
- Green cardstock in different shades
- Pencil and leaf templates
- Scissors
- Thin craft wire or folded paper stems
- Glue
- Backing board or frame
How to Make It:
- Draw leaf shapes inspired by plants like monstera, fern, or eucalyptus.
- Cut out the leaves in different sizes.
- Fold each leaf gently down the center.
- Add a few smaller folds for extra texture.
- Attach the leaves to paper stems or arrange them on a backing board.
- Layer the leaves until you like the design.
- Frame your finished artwork or display it on a shelf.
Helpful Tip: Mix two or three shades of green and add a few cream leaves for a softer botanical look.
10. Handmade Paper Photo Frames

Photos make a home feel more personal, but buying matching frames for every picture can get expensive.
Making your own paper photo frames is an affordable alternative.
You can decorate them with patterned paper, colorful borders, or simple handmade details to match your room.
Materials Needed:
- Cardstock or thin cardboard
- Pencil and ruler
- Scissors or craft knife
- Glue
- Decorative paper or washi tape
- Ribbon or cardboard for a stand
How to Make It:
- Measure the photo you want to display.
- Cut a backing piece from cardstock or thin cardboard.
- Cut another piece slightly larger than the photo and create a window in the center.
- Decorate the front with patterned paper or simple shapes.
- Attach the front to the backing along three sides.
- Slide your photo inside through the open edge.
- Add a cardboard stand or a secure hanging loop.
Helpful Tip: Leave enough space around the photo so its edges aren’t covered by the frame.
11. DIY Paper Hanging Stars

Paper stars can add a charming touch to bedrooms, reading corners, and seasonal displays.
You can hang them at different heights to create a simple but eye-catching decoration.
White, gold, silver, and pastel colors all work beautifully, so choose shades that complement your room.
Materials Needed:
- Colored paper or lightweight cardstock
- Star templates
- Pencil and scissors
- Ruler
- String or thin ribbon
- Glue, if needed
How to Make It:
- Choose a star template that matches your preferred size.
- Trace and cut out two matching star shapes.
- Fold the stars along the center lines for a 3D effect.
- Join the two pieces at their centers or along selected edges.
- Attach a short piece of string to the top.
- Hang your stars from a secure hook or decorative branch.
Helpful Tip: Mix small and large stars for an interesting display. Keep them away from ceiling fans and lights.
12. Paper Origami Crane Decorations
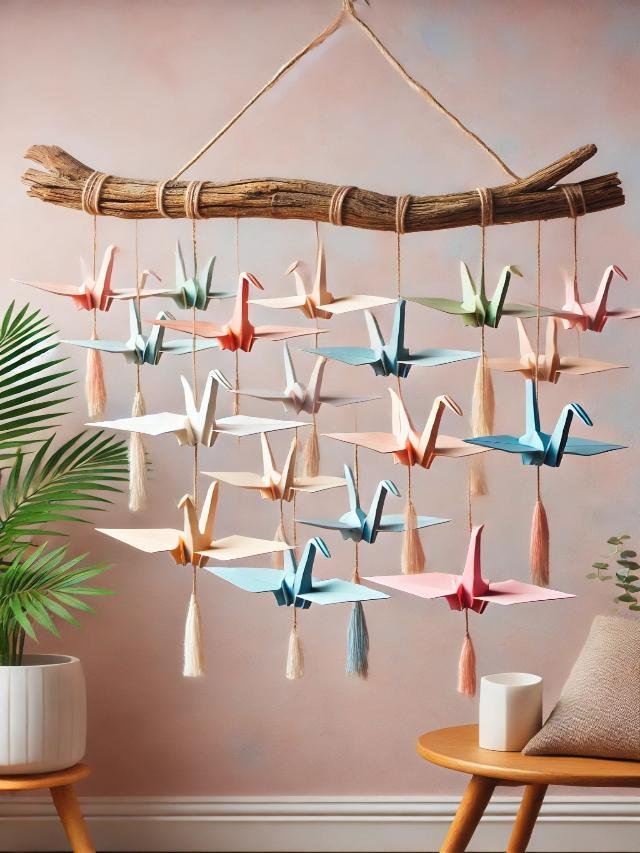
Origami cranes have a delicate look that makes them beautiful little decorations. Their folded wings and pointed shapes look especially nice when several are hung together from a branch or decorative hoop. This project takes a little patience, but once you learn the basic folds, making more cranes becomes easier.
Materials Needed:
- Square origami paper
- Ruler, if cutting your own squares
- Thin string or thread
- Needle, if needed for threading
- Lightweight wooden branch or hanging hoop
How to Make It:
- Start with a square sheet of origami paper.
- Fold it diagonally in both directions, then horizontally and vertically.
- Collapse the paper into the preliminary base shape.
- Fold the sides inward to create the crane’s body and neck.
- Reverse-fold the narrow ends to form the head and tail.
- Gently pull the wings outward to finish the crane.
- Thread each crane and hang them at different heights.
Helpful Tip: Practice with inexpensive paper before using your favorite decorative sheets.
13. DIY Paper Wreath for Front Door Decor

A handmade wreath can make your entryway feel more welcoming.
Instead of using fresh flowers or artificial greenery, you can create one with paper leaves and flowers.
It’s easy to customize for different seasons, and you can choose colors that match your home’s style.
Materials Needed:
- Cardstock or sturdy craft paper
- Cardboard ring or lightweight wreath base
- Leaf and flower templates
- Pencil and scissors
- Craft glue
- Ribbon, optional
How to Make It:
- Cut a ring from sturdy cardboard or use a ready-made wreath base.
- Draw and cut leaf shapes in different sizes.
- Fold some leaves gently down the center.
- Arrange the leaves around the ring before gluing.
- Attach the larger leaves first, then fill empty spaces with smaller ones.
- Add a few paper flowers if you like.
- Finish with a ribbon or hanging loop and let everything dry.
Helpful Tip: Hang your paper wreath in a sheltered area because rain and moisture can damage it.
14. Handmade Paper Lampshade Decorations
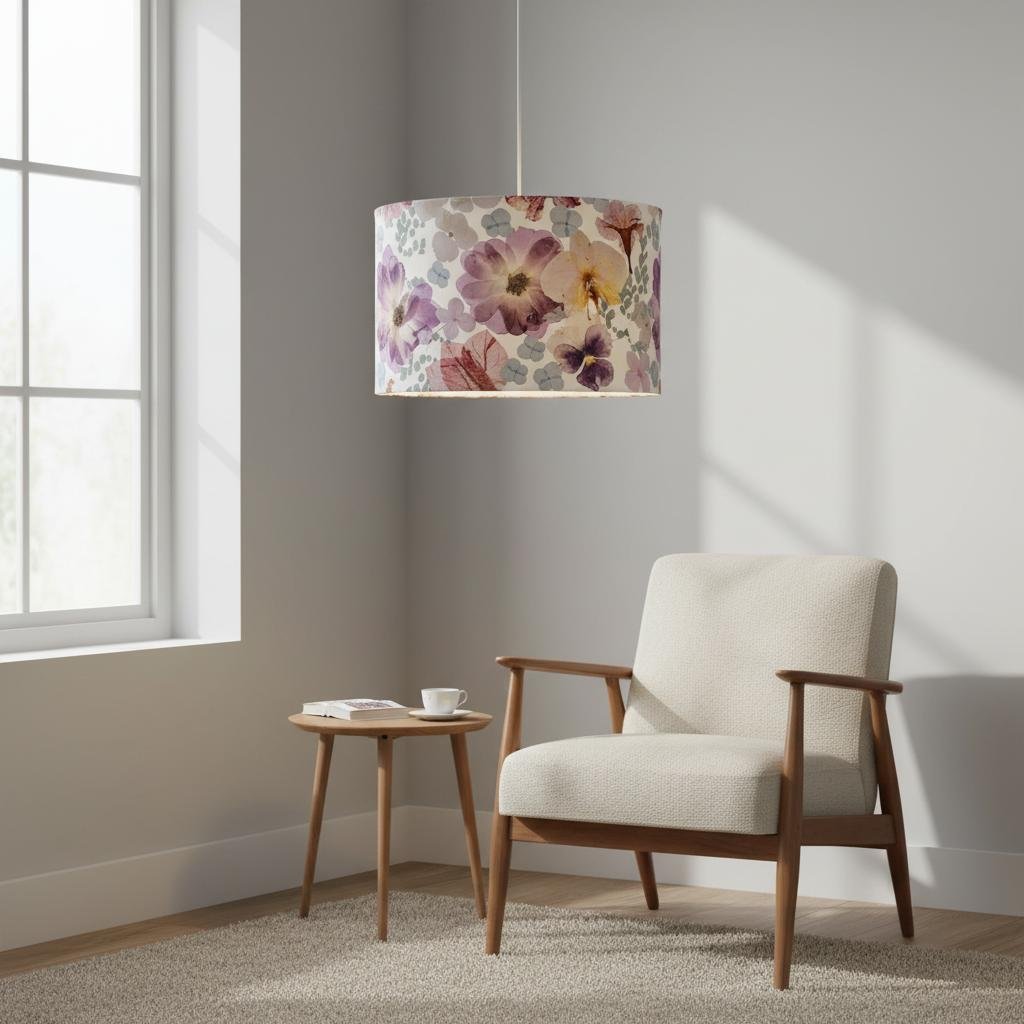
Have a plain lampshade that looks a little boring? Decorative botanical shapes or simple geometric patterns can make it more interesting.
However, paper can catch fire, so this project needs extra care.
Only decorate a lampshade with paper if the manufacturer confirms that the materials and arrangement are safe.
Materials Needed:
- Compatible existing lampshade
- Lightweight decorative paper, if approved
- Pencil
- Scissors
- Suitable craft adhesive, if approved
- Leaf or geometric templates
How to Make It:
- Unplug the lamp and let it cool completely.
- Check the manufacturer’s instructions before adding any paper.
- Measure the area you plan to decorate.
- Cut out simple leaf shapes or geometric patterns.
- Arrange the pieces without glue to check their placement.
- Attach them only if the manufacturer permits the materials and adhesive.
- Allow everything to dry completely before using the lamp.
Helpful Tip: Never cover a lampshade with paper unless the manufacturer confirms it’s safe.
If you’re unsure, use your paper design on a separate decorative panel instead.
15. DIY Paper Geometric Wall Art

If you prefer clean lines and simple designs, geometric paper wall art is a great option.
You can create a stylish decoration using basic shapes like triangles, circles, and squares.
Choose bright colors for a playful look or neutral shades for something more subtle and modern.
Materials Needed:
- Cardstock in complementary colors
- Pencil and ruler
- Scissors
- Craft glue
- White or neutral backing board
- Frame, optional
How to Make It:
- Choose three to five colors that look good together.
- Measure your backing board.
- Cut geometric shapes in different sizes.
- Arrange them on the board and experiment with overlapping patterns.
- Move the pieces around until the design feels balanced.
- Glue each shape in place, smoothing out any wrinkles.
- Let it dry before framing or hanging your artwork.
Helpful Tip: Don’t feel like you need to cover the entire board.
Leaving some empty space can make your design look cleaner and more modern.
Conclusion
You don’t need expensive decorations to make your home feel beautiful.
With a little paper, a few basic supplies, and some creativity, you can make handmade pieces that reflect your personal style.
Start with a simple project like paper butterflies, a garland, or a flower display.
Once you get comfortable, try more detailed ideas like origami cranes or 3D wall art.
Have fun experimenting and enjoy creating something special for your home.